Storage Tote Organizer Plans: Plan Around Retrieval, Not Just Storage
Plan storage totes around retrieval. Number totes, photograph contents, save shelf locations, and search before pulling bins out.
By Steve Watts · Co-Founder, Totely
July 27, 2026 · Updated July 27, 2026 · 15 min read
A storage tote rack can make a garage look better in one afternoon.
The totes are off the floor. The shelves look straight. The wall finally feels useful.
Then six months later, you need the camping lantern.
You know it is in one of the totes. You can see all the totes. You may even have a clean rack with every bin lined up neatly.
But if you still have to pull down four containers to find one lantern, the organizer only solved half the problem.
Good storage tote organizer plans should do more than hold totes.
They should help you retrieve what is inside.
That means planning the rack, shelves, rows, and clearances — but also planning the memory layer: tote numbers, photos, saved locations, front-access notes, and searchable contents.
The best plan is not just “where do the totes fit?”
It is:
How will I find the right tote later without opening everything?
Quick Links
- The Best Tote Organizer Plan Starts With Retrieval
- What Storage Tote Organizer Plans Should Include
- Step 1: Decide What the Totes Need to Do
- Step 2: Measure the Totes Before You Plan the Rack
- Step 3: Choose the Right Organizer Style
- Step 4: Plan the Rack Like a Search Map
- Step 5: Put Front-Access Items Where You Can Reach Them
- Step 6: Photograph Every Tote Before It Goes In
- How Totely Helps Your Tote Organizer Plan Keep Working
- Storage Tote Organizer Plans FAQ
The Best Tote Organizer Plan Starts With Retrieval
Most tote organizer plans begin with the physical question:
How many totes can fit on this rack?
That matters.
But the better first question is:
Which totes will you need to reach later?
A rack that holds 24 totes is only useful if the right 24 totes are easy to identify and reach. Otherwise, you have a neat wall of mystery bins.
Plan around retrieval before storage.
That means thinking about:
- what you use every month
- what you use once a year
- what needs front access
- what can live higher or farther back
- which totes should stay together
- which items people search for most often
- how you will identify each tote after it is loaded
- how the system will stay updated when contents change
A tote rack gives the bins a place to live.
A retrieval plan tells you which bin matters.
What Storage Tote Organizer Plans Should Include
A practical storage tote organizer plan should cover both layers: the physical rack and the searchable system.
Physical plan
This is the rack, shelf, or layout.
Include:
- tote dimensions
- tote size or gallon capacity
- number of rows
- number of columns
- depth of the rack or shelf
- clearance around tote lids and handles
- aisle or walking space
- wall anchoring or stability guidance from the plan or product
- safe height for lifting loaded totes
- weight-limit guidance from the rack, shelf, or manufacturer
- whether the rack is DIY, purchased, adjustable, freestanding, or wall-mounted
This is where most DIY plans stop.
Retrieval plan
This is what keeps the organizer useful later.
Include:
- tote number
- rack name
- row or slot location
- photo of contents
- key searchable items
- front-access note
- seasonal timing
- fragile or heavy note
- who uses the tote
- last updated date
- where the tote should return after use
This is the part most people skip.
It is also the part that prevents the rack from becoming a cleaner-looking version of the same old problem.
Step 1: Decide What the Totes Need to Do
Before choosing a rack, decide what the totes are storing.
A garage tote organizer for camping gear should not be planned the same way as one for holiday decorations, kids’ clothes, office backstock, or sentimental keepsakes.
Start by grouping totes by job.
Seasonal totes
These might include:
- holiday lights
- ornaments
- tree skirt
- Halloween decorations
- patio cushions
- winter gloves
- rain gear
- seasonal table linens
These can often live higher or farther back, unless the season is coming up.
Garage and utility totes
These might include:
- extension cords
- spare batteries
- duct tape
- work gloves
- sprinkler parts
- small tools
- painting supplies
- car cleaning supplies
These often need easier access because they are used throughout the year.
Camping and outdoor totes
These might include:
- camping lantern
- headlamp
- tent stakes
- compact stove
- sleeping pads
- bug spray
- camp mugs
- cord bundle
These should stay together and be easy to check before a trip.
Kids’ storage totes
These might include:
- winter clothes
- rain jackets
- hand-me-downs
- toys in rotation
- school keepsakes
- birthday decorations
- sports gear
These change often, so photos and updated notes matter.
Office or small-business totes
These might include:
- printer ink
- label rolls
- shipping mailers
- bubble wrap
- envelopes
- thank-you cards
- product samples
- spare cables
These are easy to overbuy if you cannot see what you already have.
Step 2: Measure the Totes Before You Plan the Rack
Measure the tote, not just the label on the tote.
Totes can vary by brand, lid shape, handle shape, rim width, and widest point. A “27 gallon” tote from one brand may not fit exactly like another.
Measure:
- width at the widest point
- depth from front to back
- height with lid attached
- lid overhang
- handle or rim width
- how much room you need to slide it in and out
If you are using a DIY plan, follow the measurements and clearance rules in that plan.
If you are buying a rack, follow the rack manufacturer’s dimensions and weight limits.
If you are mixing tote sizes, avoid pretending they will all behave the same. A rack planned for identical totes works best when the totes are actually identical.
A good tote organizer plan should leave enough room to remove a tote without scraping the lid, catching the rim, or forcing you to unload the whole shelf.
Step 3: Choose the Right Organizer Style
There are a few common ways to organize storage totes.
The right choice depends on your space, tools, comfort level, and how often you need access.
Sliding tote rack
A sliding tote rack uses slots or rails so each tote can slide in and out.
This can work well for:
- garages
- basements
- storage rooms
- identical tote sizes
- long-term storage
- seasonal bins
The benefit is density. You can store a lot of totes vertically.
The tradeoff is planning. You need accurate measurements, stable construction or a reliable product, and a clear system for which tote lives in each slot.
Adjustable shelving
Adjustable shelving is flexible.
It works well when:
- tote sizes vary
- contents change often
- you want easier access
- you may rearrange later
- you do not want a custom DIY build
The benefit is adaptability.
The tradeoff is that shelves can become crowded if you do not plan locations and front-access items.
Simple shelf zones
A simple shelf-zone plan uses existing shelves, cabinets, or wall space.
This is best when:
- you only have a few totes
- you rent
- you do not want to build
- the space is temporary
- you are testing the system
The benefit is low friction.
The tradeoff is that you may not use vertical space as efficiently as a dedicated rack.
Floor or wall layout
Sometimes the best first version is not a rack at all.
If you are organizing a closet, under-stair space, or basement wall, you can still create a tote organizer plan with:
- zones
- numbers
- photos
- saved locations
- front-access notes
- search
A system can be useful before it is beautiful.
Step 4: Plan the Rack Like a Search Map
A tote rack is easier to use when every position has a name.
Do not just number the totes randomly and hope you remember where they go.
Give the storage area a simple map.
Example:
Garage Rack AGarage Rack BRow 1Row 2Slot 1Slot 2Tote 1Tote 2
You do not need complicated labels on the outside.
A simple visible number is enough.
For example:
| Tote | Location | Main use | Access note |
|---|---|---|---|
| Tote 1 | Garage Rack A, Slot 1 | storm supplies | front access |
| Tote 2 | Garage Rack A, Slot 2 | painting supplies | medium access |
| Tote 3 | Garage Rack A, Slot 3 | holiday lights | seasonal |
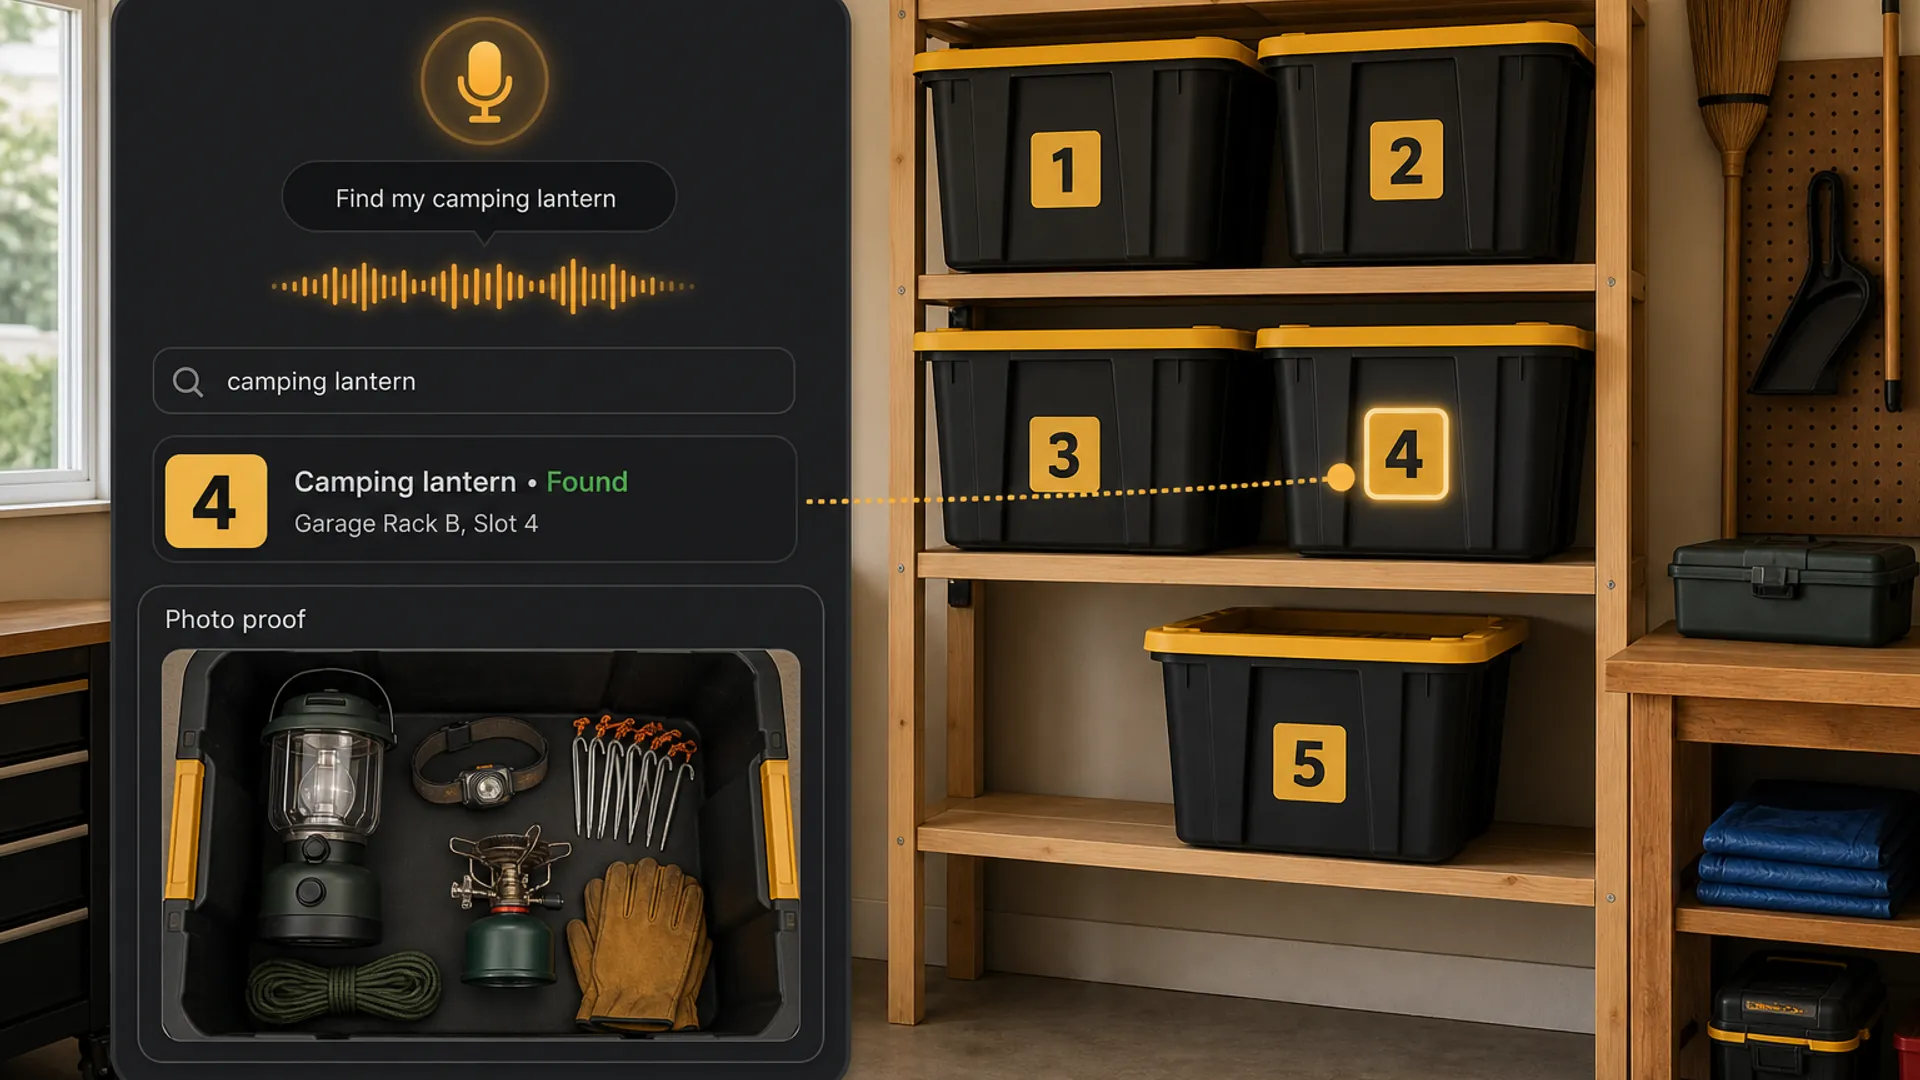
| Tote 4 | Garage Rack B, Slot 4 | camping lantern and trip gear | front access |
| Tote 5 | Garage Rack B, Slot 5 | kids’ winter gear | check sizes |
| Tote 6 | Garage Rack B, Slot 6 | extension cords and work gloves | front access |
The number is what you see from across the garage.
The location is what tells you where it lives.
The record is what tells you what is inside.
Step 5: Put Front-Access Items Where You Can Reach Them
Not every tote deserves the best spot.
Front-access spots should go to things you actually need.
These might include:
- camping lantern
- flashlight
- spare batteries
- work gloves
- extension cord
- rain gear
- winter gloves
- outdoor lights
- printer ink
- label rolls
- bike pump
- sports gear
- storm supplies
Deep-storage spots can go to:
- off-season holiday decorations
- archived keepsakes
- rarely used party supplies
- outgrown kids’ clothes
- seasonal linens
- backup household items
This is where many tote organizer plans fail.
They plan for what fits, not what needs to be found.
A good rule:
The more urgently you might need it, the easier it should be to reach.
Step 6: Photograph Every Tote Before It Goes In
Before each tote goes into the rack, open it and take a useful photo.
Make sure the important items are visible.
If the tote has layers, take two photos or add a note.
For a camping tote, the photo should show things like:
- camping lantern
- headlamp
- tent stakes
- compact stove
- cord bundle
- gloves
- small tools
For a holiday tote, the photo might show:
- holiday lights
- spare bulbs
- ribbon
- hooks
- outdoor clips
- wreath hanger
For an office tote, the photo might show:
- printer ink
- label rolls
- envelopes
- return labels
- tape
- spare USB cable
The photo matters because tote contents change.
A label can say “camping.”
A photo can show whether the lantern is actually in there.
A Simple Tote Organizer Plan You Can Copy
Use this as a starter layout for a garage or basement rack.
| Tote | Rack location | What belongs there | Front-access note |
|---|---|---|---|
| Tote 1 | Garage Rack A, Slot 1 | storm supplies, flashlight, spare batteries | front access |
| Tote 2 | Garage Rack A, Slot 2 | extension cords, work gloves, duct tape | front access |
| Tote 3 | Garage Rack A, Slot 3 | holiday lights, spare bulbs, outdoor clips | seasonal |
| Tote 4 | Garage Rack B, Slot 4 | camping lantern, headlamp, tent stakes, stove | front access |
| Tote 5 | Garage Rack B, Slot 5 | kids’ winter gloves, hats, rain jackets | check sizes |
| Tote 6 | Garage Rack B, Slot 6 | painting supplies, rollers, drop cloths | medium access |
| Tote 7 | Garage Rack C, Slot 7 | keepsakes, school papers, photo boxes | low access |
| Tote 8 | Garage Rack C, Slot 8 | extra linens, guest towels, pillowcases | medium access |
This layout does not need to be perfect.
It needs to be findable.
Start with the totes that waste the most time now.
Where Labels Stop Helping
Labels help when the tote contents stay the same.
But many household totes do not stay the same.
You pull out the camping lantern and add bug spray. You move gloves from one tote to another. You combine two half-full holiday bins. You add printer ink to the office tote. Someone borrows an extension cord and puts it back in the wrong bin.
Now the label is partly wrong.
That does not mean labels are useless.
It means labels should not be the whole system.
Use the outside of the tote for simple identification:
1, 2, 3, 4, 5
Use the inside record for the changing details:
- photo
- item list
- shelf location
- access note
- last updated date
- seasonal note
Simple outside.
Specific inside.
Do You Need QR Codes?
Maybe.
QR codes can be useful if you want to scan a tote and open its record instantly.
They can work well for:
- large storage rooms
- storage units
- shared household storage
- moving boxes
- small-business supplies
- many similar bins
- printed-label workflows
But QR codes do not need to be the first step.
For many homes, a large visible number is easier to read from across a garage.
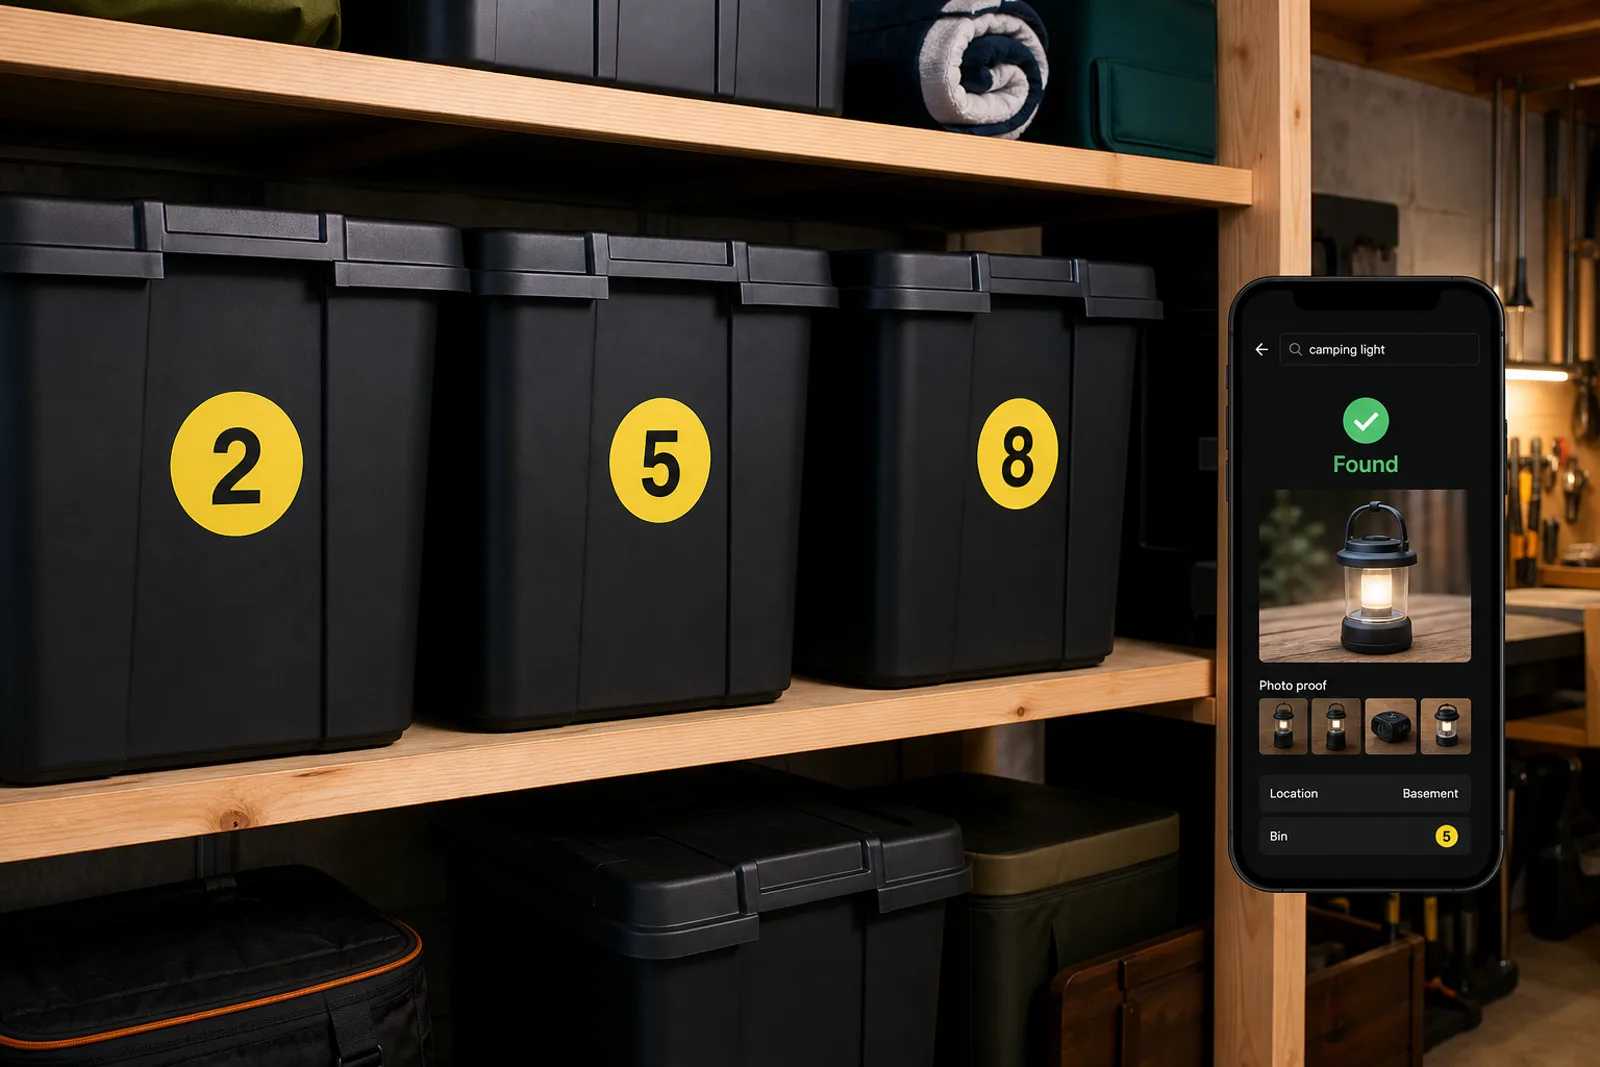
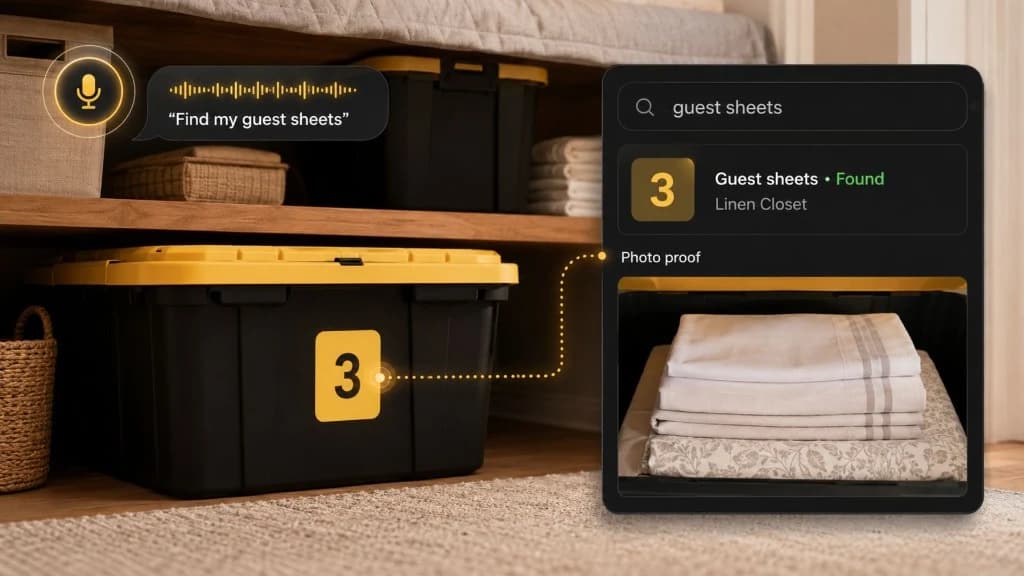
You can stand near the rack, search for “camping lantern,” see Tote 4, and pull the right bin.
No scanning required.
You can always add QR codes later if your system grows.
How Totely Helps Your Tote Organizer Plan Keep Working
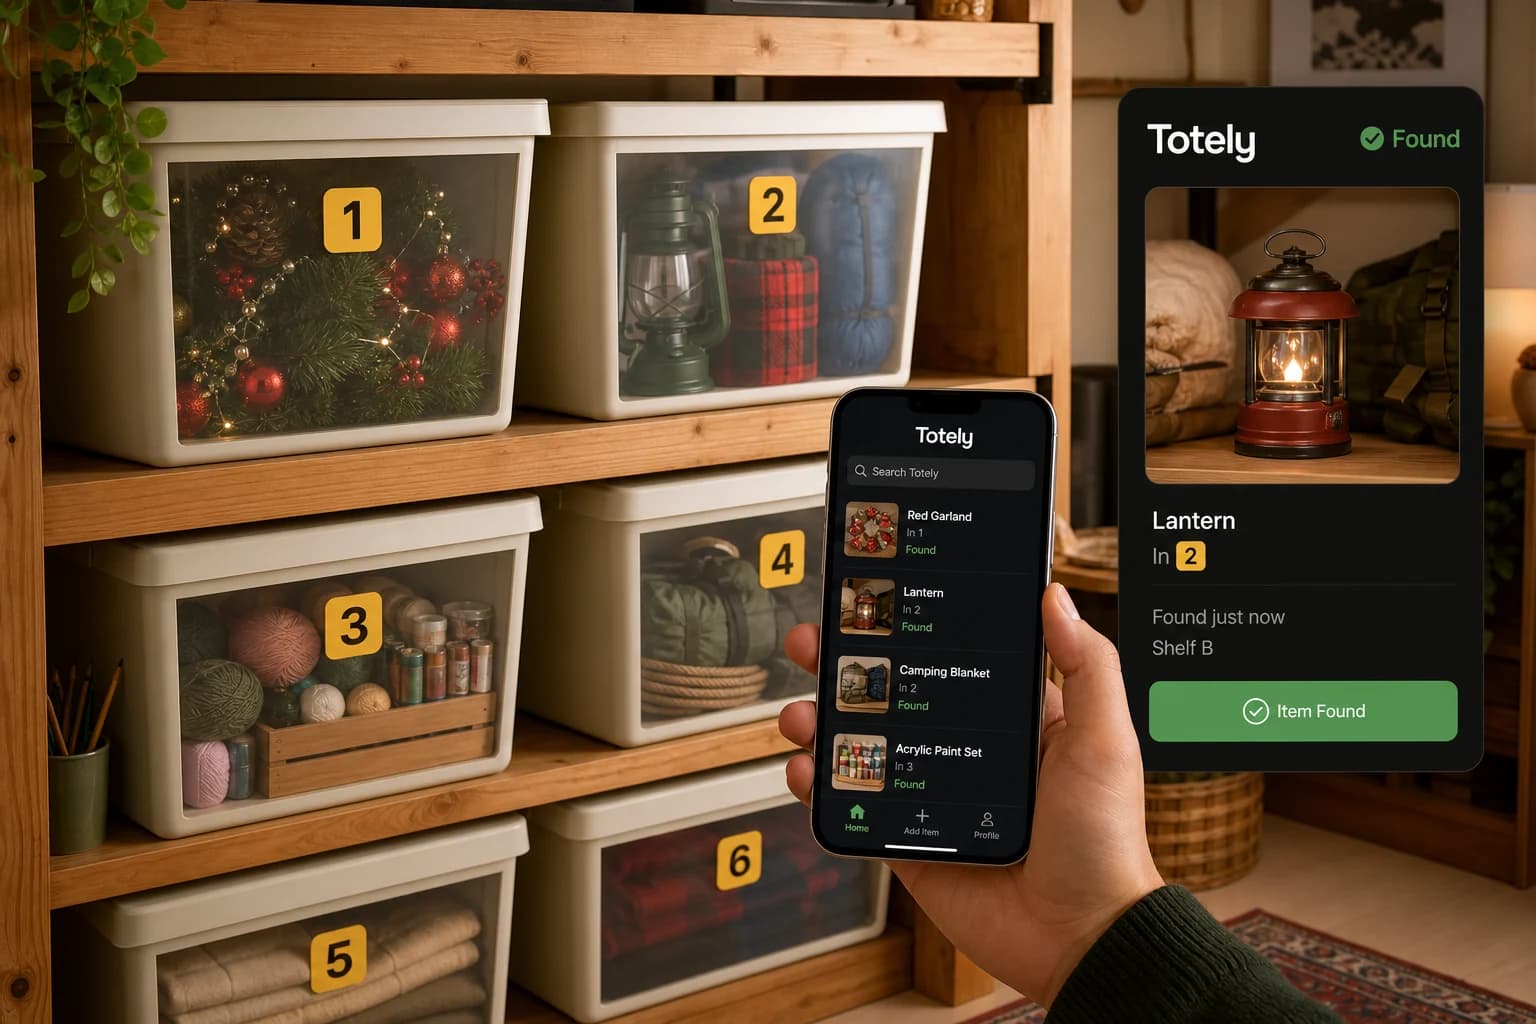
Totely is the layer that helps your tote organizer plan last after the rack is built.
The rack solves physical access.
Totely solves memory.
Here is the workflow:
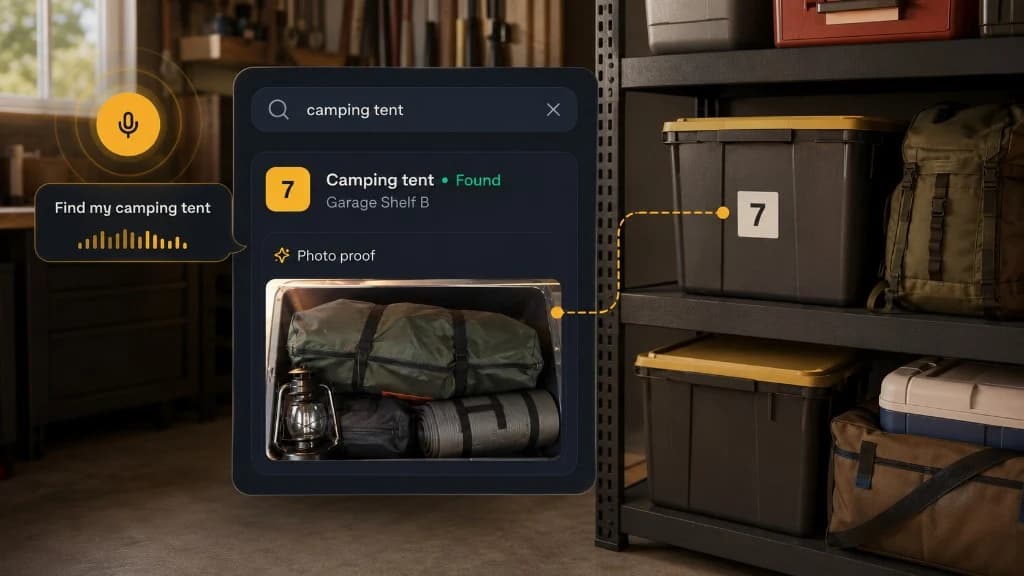
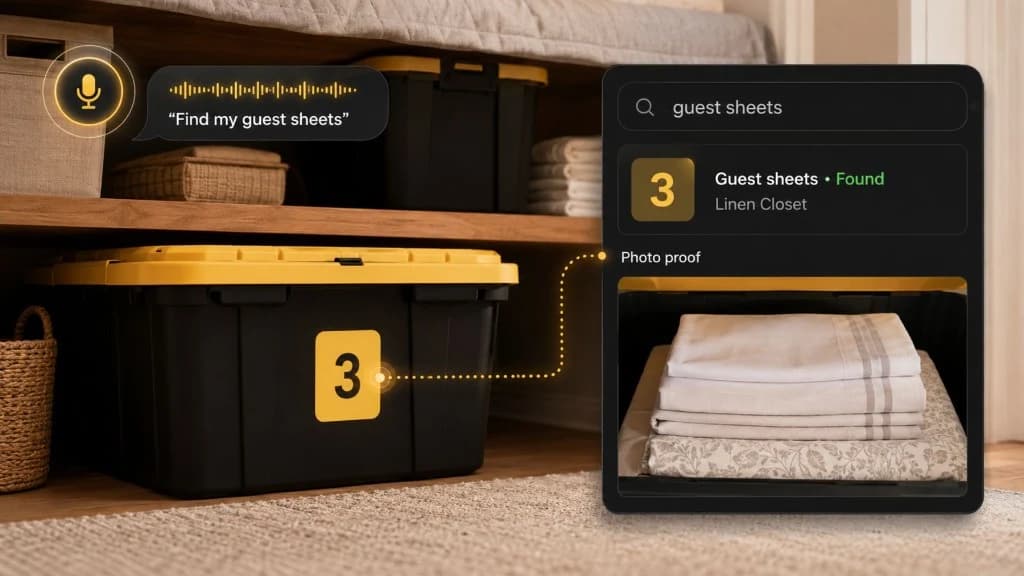
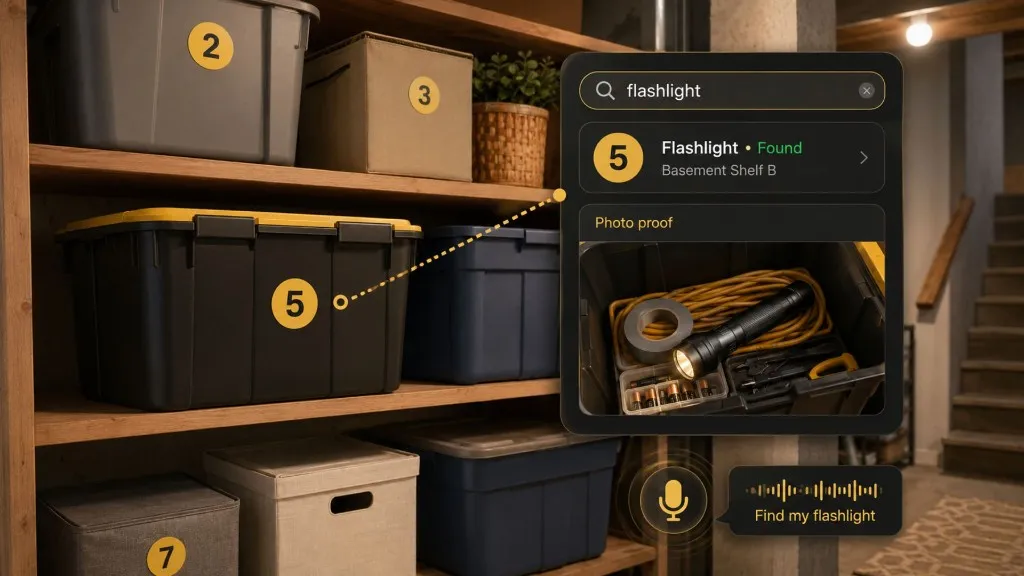
- Number each tote, shelf, rack slot, or storage zone with a simple visible number.
- Snap a photo before the tote goes into the rack.
- Let AI build the first item list from what it can see.
- Review or edit the record so it uses the words you would search later.
- Save the exact location, such as
Garage Rack B, Slot 4. - Add notes for front access, seasonal timing, fragile items, heavy items, replacement needs, or restock reminders.
- Search naturally later for
camping lantern,holiday lights,printer ink,extension cord, orwinter gloves. - Use photo proof before pulling down the wrong tote.
Totely does not replace rack plans, tool instructions, anchoring guidance, shelf weight limits, manufacturer instructions, or common-sense lifting safety.
It helps with the part that most storage plans forget:
Knowing which tote matters before you move it.
Storage Tote Organizer Plans FAQ
What should storage tote organizer plans include?
Storage tote organizer plans should include tote measurements, rack or shelf dimensions, rows and columns, clearance for sliding totes in and out, safe access, location naming, tote numbers, photos of contents, and notes for front-access or seasonal items.
How do I organize storage totes in a garage?
Start by grouping totes by use: seasonal, garage tools, camping, kids’ clothes, office supplies, or keepsakes. Put the most-used totes where you can reach them, number each tote, photograph the contents, and save the rack or shelf location.
Should every tote be the same size?
Identical totes make rack planning easier because the dimensions are predictable. Mixed tote sizes can still work, but adjustable shelves or zones may be easier than a custom rack built for one specific tote size.
Do I need a DIY tote rack?
No. A DIY tote rack can be helpful if you have many matching totes and want to use vertical garage space. But adjustable shelves, simple shelf zones, or existing cabinets can also work if you number the totes and keep a searchable record.
How should I number storage totes?
Use simple visible numbers like 1, 2, 3, 4, 5. Avoid trying to write every detail on the outside. The number identifies the tote, while the app or inventory record keeps the detailed contents, photos, and location.
Do I need QR codes for storage totes?
No. QR codes can be useful, but they are not required. A visible number, photo record, saved location, and natural search can be simpler for everyday household storage.
What should go in front-access totes?
Front-access totes should hold items you need quickly or repeatedly, such as flashlights, spare batteries, camping lanterns, extension cords, gloves, rain gear, printer ink, holiday lights, or seasonal items coming up soon.
How do I keep a tote organizer system updated?
Update the record whenever you remove or add important items. You do not need to catalog every tiny object. Focus on the items someone is likely to search for later, then refresh the photo when the tote changes significantly.
Build the Rack, Then Make It Searchable
A tote rack is a great start.
It gets storage off the floor and makes the space feel organized.
But the real win is knowing what is inside each tote without unloading the rack.
Plan the physical system first: size, rows, columns, clearance, safety, and access.
Then add the memory layer: simple visible numbers, photos, saved locations, notes, and natural search.
With Totely, your tote organizer plan can keep working after the garage looks clean.
The tote gets a number.
The app remembers the details.
And when you need the camping lantern, you know exactly where to go.