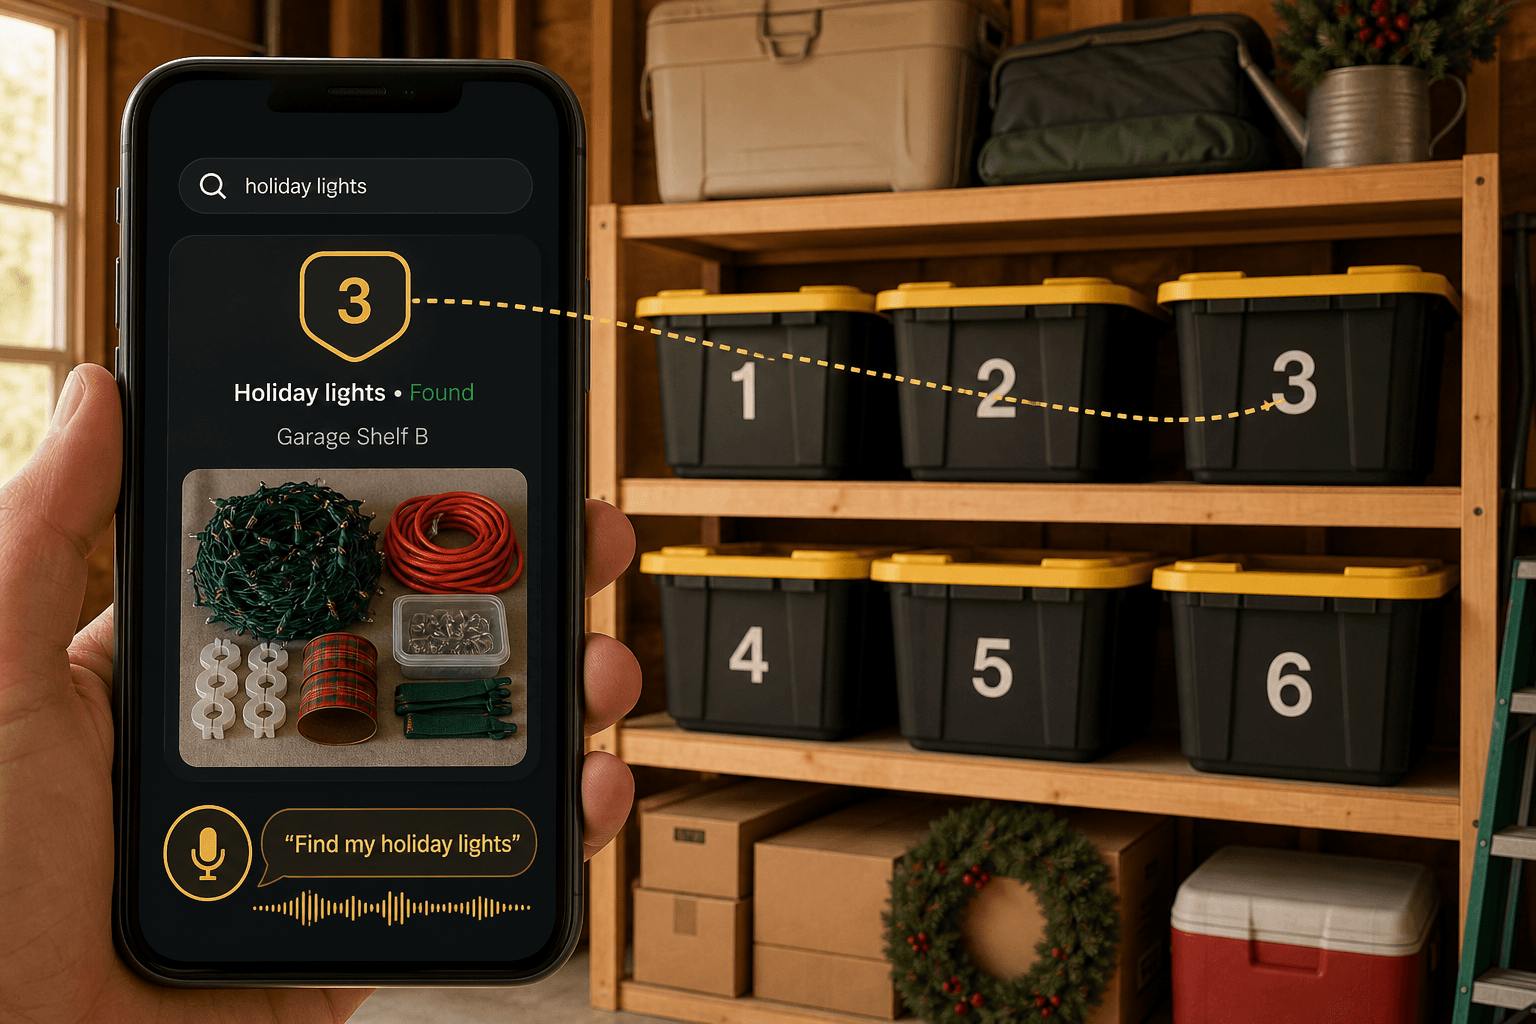
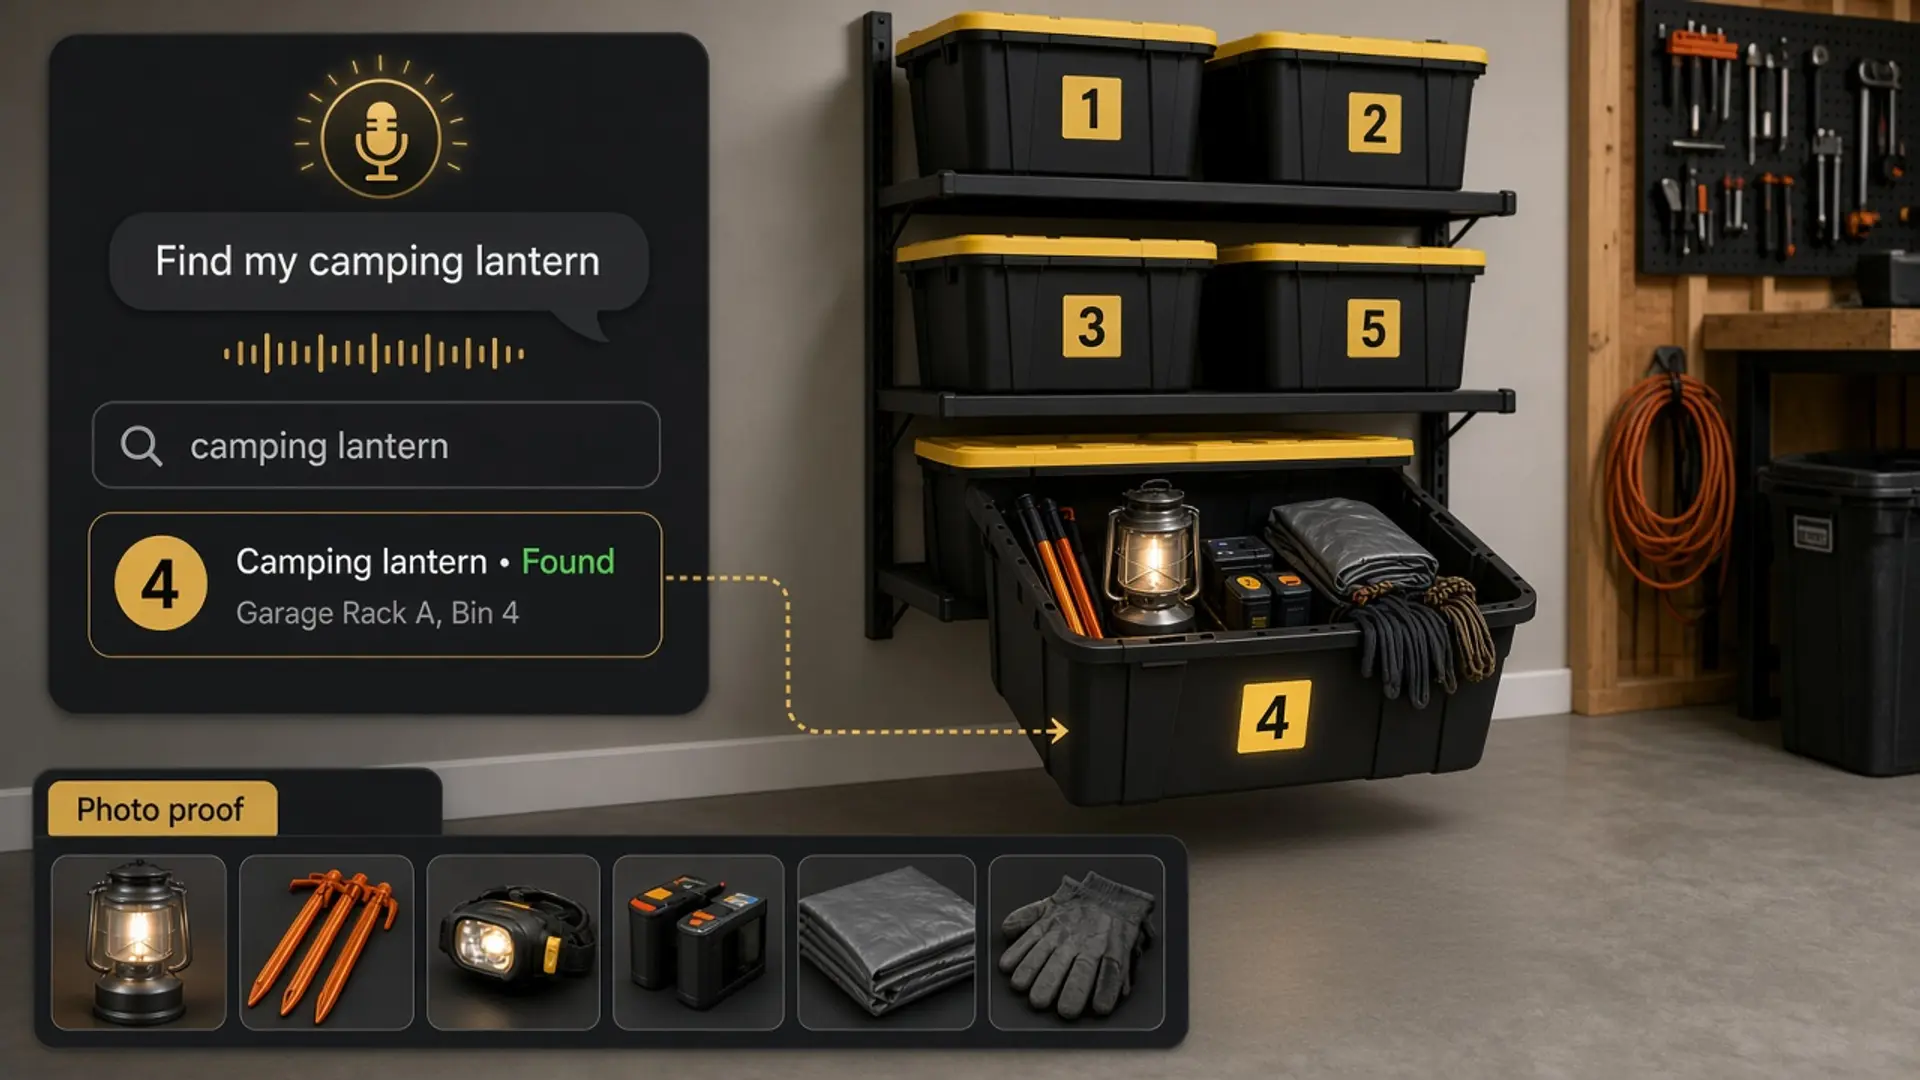
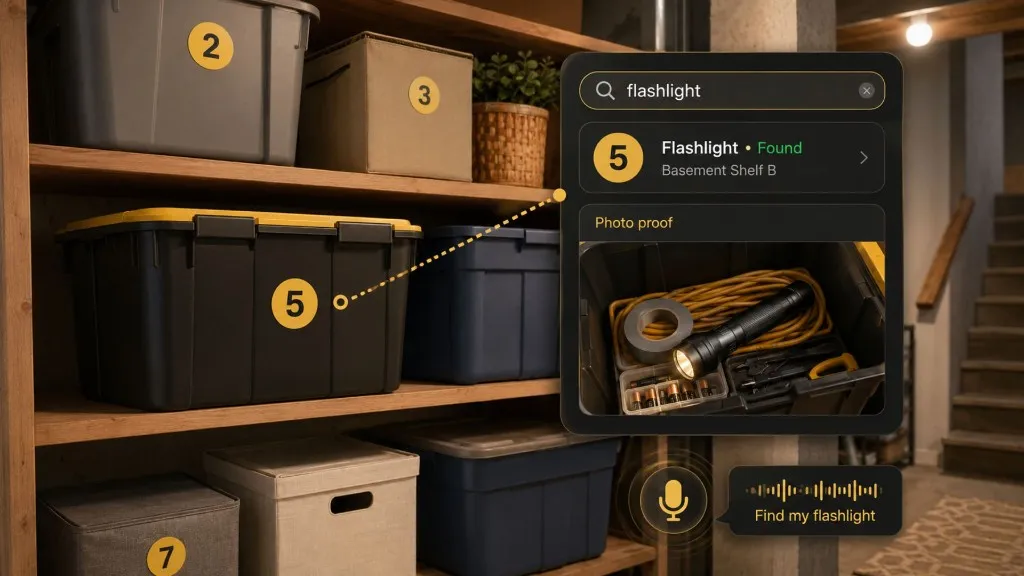
Stackable Storage Bins: Find the Right Bin Before Unstacking
Choose a stackable storage bin by fit, access and manufacturer limits, then number each bin so you can find the bike pump before unstacking.
By Steve Watts · Co-Founder, Totely
October 11, 2026 · Updated October 11, 2026 · 13 min read
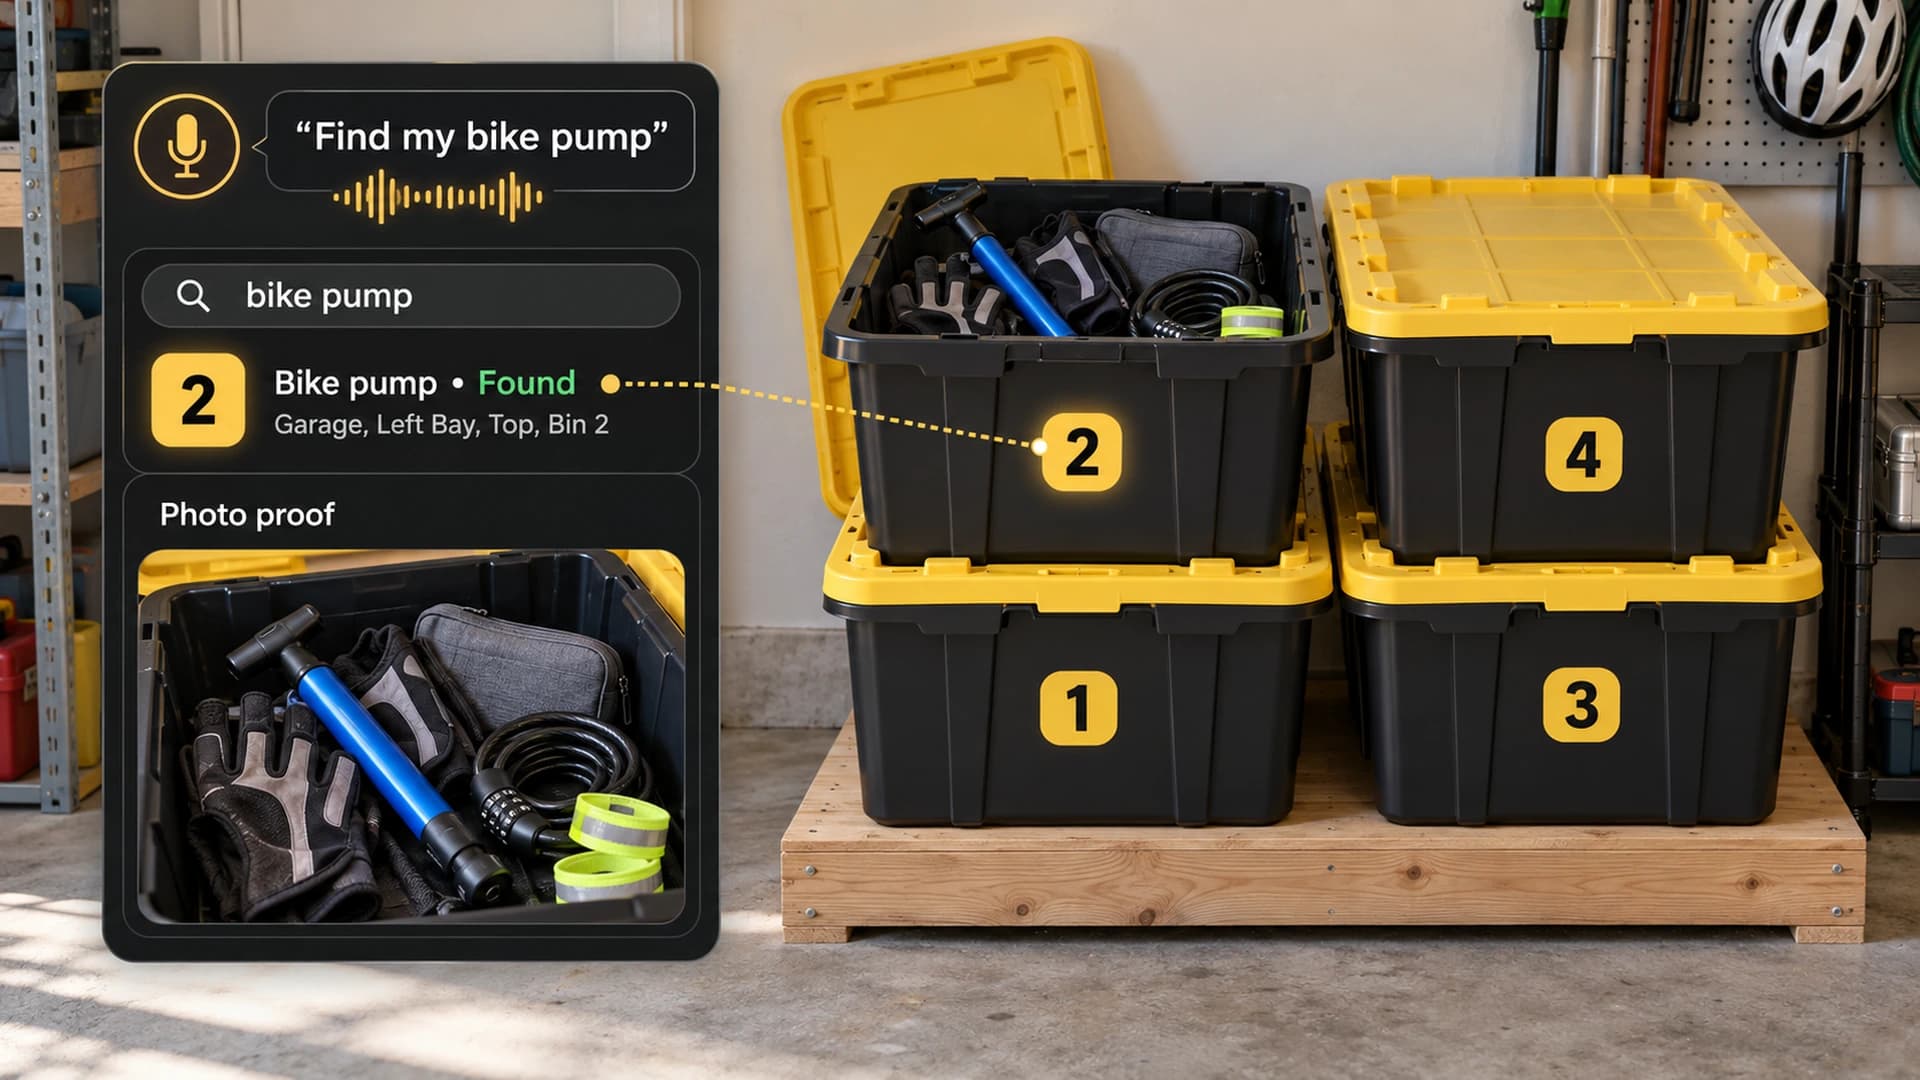
The blue bike pump was packed with the cycling gloves. You remember that much. But the garage now has two stacks of matching bins, and someone rearranged them after the last camping trip. Before a short ride, you are wondering which lid to open first.
A useful stackable storage bin needs to fit the space, support the intended arrangement and let you reach its contents in a way you can manage. Once those physical decisions are settled, a visible number and a current contents record help you choose the right bin before moving anything.
Start with the opening method. A bin you use every weekend has a different job from a container you open once a year.
Quick Links
Choose a Stackable Storage Bin by Access
Imagine opening the lowest container in the arrangement you are considering. Where would the bins above it go? Would the lid open? Would a front door clear the cabinet frame?
That small rehearsal tells you more than a photograph of a neatly filled storage wall.
| Format | Useful for | Access check |
|---|---|---|
| Lidded stackable tote | Grouped items used occasionally | Can you move the bins above it and open the lid comfortably? |
| Open-front stacking bin | Supplies you reach for regularly | Is the opening large enough for your hand and the item? |
| Front-door storage box | Enclosed items needing frequent access | Does the door work with the box above it and the room's furniture? |
| Stackable drawer unit | Smaller items that need separate sections | Can the drawer extend fully in the intended, manufacturer-approved setup? |
| Tote on an individual shelf or rack slot | A bin that needs independent access | Can you remove it without lifting another tote? |
A front opening can be convenient, but check the actual opening dimensions. A wide bin may still have a narrow door. A bulky object that fits through the top might not pass through the front.
Open-front bins also leave part of the contents exposed. Choose enclosure, visibility and access to suit the actual objects and storage environment. A stacking feature does not establish that a container is airtight, waterproof or suitable for delicate keepsakes.
For a closer look at enclosure and contents, see storage bins with lids. If you want to pull each tote independently, the storage tote rack guide covers that arrangement.
Clear sides help with a visible item
Clear plastic can give you a quick view of what is near the side. It will not reveal the contents of a closed pouch or everything beneath a folded cover.
Use the container's visibility as one clue. Keep a note for the objects you will actually request later: “blue hand bike pump,” “cycling gloves,” or “gray repair pouch.” That is more helpful than relying on a broad category such as “sports.”
Check Fit and Manufacturer Guidance
Measure the setup you will use, including the space needed to open it and handle the contents.
Check these before buying a matching set:
- Outside footprint: include handles, latches and anything that projects beyond the box.
- Usable interior: compare the largest object with the inside dimensions, including the narrower bottom of a tapered tote.
- Closed and stacked height: use the actual assembled arrangement; lids and stacking interfaces can change how bins sit together.
- Opening clearance: allow room for the lid, front door or drawer in the intended configuration.
- Removal space: identify where a lifted bin can be placed without blocking your working area.
- Support and load guidance: check the instructions for the exact bin, its compatible lid and any supporting shelf or rack.
“Stackable” describes a feature. The product's instructions still determine how you can use it.
For example, Sterilite's storage guidance advises against overloading its bins or stacking them more than three high, and recommends keeping the heaviest bin at the bottom. That is manufacturer guidance for Sterilite products, not a universal safe height for every brand, bin size or load.
Follow the guidance for your model and choose a lower or independently supported arrangement when you cannot handle the containers comfortably. A maximum allowed configuration is not a requirement to fill the available height.
Verify the exact compatible combination
Matching colors or similar outside measurements do not establish that two containers are designed to stack together. Look for the manufacturer's specified sizes, lid family, connectors or configuration.
Some manufacturers explicitly allow selected sizes to share a stacking footprint. Sterilite's 16-quart Stacker Box page identifies particular compatible boxes and totes through their shared lids. That named compatibility is more useful than assuming everything from one brand will fit.
Keep a model name or product reference with your storage notes if you may expand the set later. It can save you from trying to match a lid from memory.
Check the bin you already own
Before making it part of a loaded stack, inspect the body, lid and closures. A cracked box, damaged rim or lid that no longer seats properly needs attention before you rely on it for storage.
Pack so the intended lid closes without being forced upward by the contents. Check the manufacturer's guidance when the container is damaged, the load is uncertain or the instructions do not cover your proposed arrangement.
Plan Stack Order Around Real Use
Weight and access need to be considered together. Putting the most-used bin at the top is only useful when its weight, height and handling also suit that position.
| Stored group | Retrieval pattern | Placement decision |
|---|---|---|
| Cycling gloves, compact pump and repair pouch | Used during the current riding season | Give the group an easy opening and a manageable lifting position |
| Holiday accessories | Opened for a planned seasonal setup | A lidded position requiring some rearrangement may be workable |
| Dense tools used regularly | Frequent and comparatively heavy | Give them low, independent access rather than burying them in a stack |
| Lightweight covers used occasionally | Infrequent | Consider a compatible position within the product's limits |
If a heavy bin also gets opened often, an individual low shelf or a separate position can solve both needs. You do not have to choose between lifting it high and moving another bin every time.
Group items around the activity you will retrieve them for. The pump, gloves and repair pouch belong together because someone may want them before a ride. A random collection of garage leftovers creates more searching even when the boxes stack neatly.
For broad sorting decisions, use how to organize storage totes. Here, the useful question is narrower: can you reach each group in this particular arrangement?
Plan a landing spot
Before opening a lower lidded tote, decide where you will put anything removed from above it. Choose a stable place that accommodates the actual container and load.
If there is no workable landing spot, change the arrangement before storing the items. A smaller grouping, shorter stack or independently accessible shelf may fit your routine better.
This is also a reason to try a small setup first. Discovering that one bin is awkward to remove is easier to fix than discovering that an entire wall of matching containers is awkward to use.
Give Each Bin a Stable Number
The number identifies the container. Its position describes where that container lives today.
Keeping those two details separate makes the record useful after a seasonal rearrangement. Bin 2 stays Bin 2 when it moves from the left bay to the right bay. You update its saved location rather than changing its identity.
Here is an illustrative four-bin setup with two short, two-bin stacks. “Left” and “right” mean what you see while standing in the garage facing the storage area. The arrangement still needs to suit your particular containers, loads and handling needs.
| Bin | Bay and position | Key contents | Retrieval note |
|---|---|---|---|
| 1 | Left, bottom | Picnic cookware and camping accessories | Seasonal; move Bin 2 to the landing spot first |
| 2 | Left, top | Blue hand bike pump, cycling gloves, repair pouch and bike lock | Current-season gear; top opening |
| 3 | Right, bottom | Occasional decorating tools and spare hooks | Less frequent; move Bin 4 first |
| 4 | Right, top | Lightweight patio covers | Check the contents before seasonal setup |
Give each physical bin one large, legible number facing the approach. Keep the numbers unique within the inventory you are using. Detailed contents can live in a paper index, spreadsheet or searchable record.
The pump's complete address is “Garage, Left Bay, Top, Bin 2.” The number is the final physical confirmation when you reach the storage area.
Record words another person would use
Someone might search for “bike pump,” “bicycle pump,” or “blue hand pump.” Include useful alternative descriptions when they help identify the same object. Record the actual contents; do not add a list of things that usually belong in a cycling bin but are currently elsewhere.
If the repair pouch hides the pump, add a note describing that. A photo of the pouch cannot establish what is inside it.
For a wider household numbering system, see how to keep track of storage bins.
Remove, Return and Update
A storage record drifts when something moves and the old address remains.
When you need an item, use this sequence:
- Look up the item and confirm the bin number and current location.
- Check the approach and your landing spot before moving containers.
- If necessary, remove the containers above the target in a way you can manage, following the product guidance.
- Open the target bin and take the item.
- Return the closed containers to their intended arrangement.
- Update the record if an important item stays out or a container has a new home.
Finding the right bin reduces guesswork. It does not remove the physical work required to access a lower lidded container.
Suppose Bin 2 moves to the top of the right bay for the next riding season. Its new address is “Garage, Right Bay, Top, Bin 2.” If Bin 4 takes the old position, update that bin's location too. The stickers remain 2 and 4.
You can also record an item that has temporarily left storage: “Bike pump moved to the entry closet for this week's rides.” Correct the note when it returns.
Use a seasonal change as a quick review
When a bin is already open, check the few names that matter. Is the pump still there? Did the gloves move into someone's bag? Does the overview photo still show the useful contents?
Update only what changed. You do not need to empty every container or recreate the entire inventory each time the season changes.
Try the One-Bin Test
Choose one container with a few items you regularly look for.
- Check that the container and its intended position suit the contents and manufacturer guidance.
- Confirm you can open or remove it with a workable landing spot.
- Put a unique, visible number on the outside.
- Take an overview photo while the contents are already accessible.
- Record the exact location and two or three memorable item names.
- Add an opening or retrieval note if someone else will need it.
- Close the bin and ask another household member to locate one named item using the record.
If the person chooses the correct bin and understands how to reach it, you have a useful starting point. If they cannot, improve the description or physical arrangement before adding more containers.
How Totely Helps
Totely provides the digital memory layer for the physical setup. Use the number on the container as its identity, then add the details you will want when an item is needed again.
For the bike-pump example:
- Number the container 2.
- Photograph the visible contents while Bin 2 is open.
- Let Totely suggest an initial item list from what the photo shows.
- Review and correct that list; add anything hidden in the repair pouch or beneath other items.
- Save “Garage, Left Bay, Top, Bin 2” as the location.
- Add the opening note and any useful object description.
- Later, search naturally for “bike pump.”
The saved description and photo proof help you confirm the correct bin before moving the stack. When its position changes, update the location while keeping the same number.
A photograph cannot reveal a completely hidden object, and an AI suggestion does not know where you moved the bin after the photo was taken. A quick human review keeps the record useful.
You can begin with a box-level photo and a few item names. Totely does not require QR codes, barcodes or manual entry of every small accessory to get started.
Stackable Storage Bin FAQs
How do I choose a stackable storage bin?
Start with the items, the opening method and the space. Check outside and usable inside dimensions, compatible lids or connectors, manufacturer load and stacking guidance, and whether you can reach the contents in the proposed arrangement.
How many storage bins can I stack?
Follow the instructions for the exact product, load and supporting surface. There is no single count that applies to every storage bin. Sterilite's FAQ, for example, recommends no more than three high for its storage bins and cautions against overloading. Your handling needs may call for a lower arrangement or independent shelves.
Can I stack different sizes or brands together?
Use a combination the manufacturer identifies as compatible. Some product families allow selected sizes to share a lid footprint. Similar colors or measurements, or a shared brand name, are not enough to establish that a particular combination is appropriate.
Are open-front bins better than bins with lids?
They can make regularly used items easier to reach because the opening is at the front. Check that your object fits through it and that the intended stack leaves the opening usable. Lidded bins provide enclosure, but accessing a lower one may require moving containers above it.
Should I renumber a bin when I rearrange the stack?
Keep its existing number and update its location. “Bin 2” identifies the same physical container; “Garage, Right Bay, Top” records its new position. Update any other containers that moved during the rearrangement.
Can Totely help me find something in stacked bins?
Yes. Save a numbered bin's contents photo, reviewed item names, exact location and retrieval note. Search for the item later and use the saved record and photo proof to identify the container. The physical stack still needs to be arranged so you can reach that container comfortably.
Make the Stack Easy to Use Again
Choose a container whose opening suits the way you use its contents. Verify the fit and product guidance, plan how you will remove it, and give it a number that stays with it when the arrangement changes.
Then save the item names and the current location. The next time someone asks for the bike pump, you have a specific place to start.
Try the One-Tote Test with one manageable bin. Stored, not lost.